Bi-fold doors are the stylish solution that can transform your home, offering space-saving functionality with a sleek finish. Whether you’re dividing rooms or enhancing your wardrobe, knowing how to install bi-fold doors yourself can save money and give you the satisfaction of a job well done.
If you’re considering upgrading your home with bifold doors, this guide will walk you through the entire process step by step. So, grab your tools and let’s dive into this step-by-step guide on how to install bi-fold doors.
What You’ll Need Before Installing Bi-Fold Doors
Tools Checklist
Before you start, gather these essentials:
- Drill
- Screwdriver
- Tape measure
- Level
- Saw (optional, for trimming)
- Pencil
Materials Required
You’ll also need:
- Bi-fold doors
- Hinges
- Tracks
- Screws
- Pivots and brackets
Prepare Your Workspace
Clear the area where the doors will be installed. Remove any obstructions and ensure you have a clean, flat surface to work on. Safety first—wear protective gloves and goggles.
Measuring and Preparing the Doorway
Taking Accurate Measurements
Accurate measurements are the foundation of a smooth installation. Use a tape measure to note the width and height of the doorway. Remember to measure at multiple points—doorways aren’t always perfectly square.
Checking for a Square Door Frame
Place a level against all sides of the frame. If the bubble veers off-centre, your frame isn’t square. But don’t panic—we’ll address that next.
What to Do If Your Frame Isn’t Square
Use shims to even out uneven areas, or trim the doors slightly to fit the frame. It’s all about adapting to your space.
Step-by-Step Guide to Installing Bi-Fold Doors

Installing the Top Track
- Mark the placement of the track along the top of your doorway.
- Drill pilot holes where screws will go.
- Secure the track with screws, ensuring it’s level.
Attaching Pivots and Brackets
- Insert the pivot plates into the designated slots on the door edges.
- Fix the brackets to the top and bottom corners of the frame using screws.
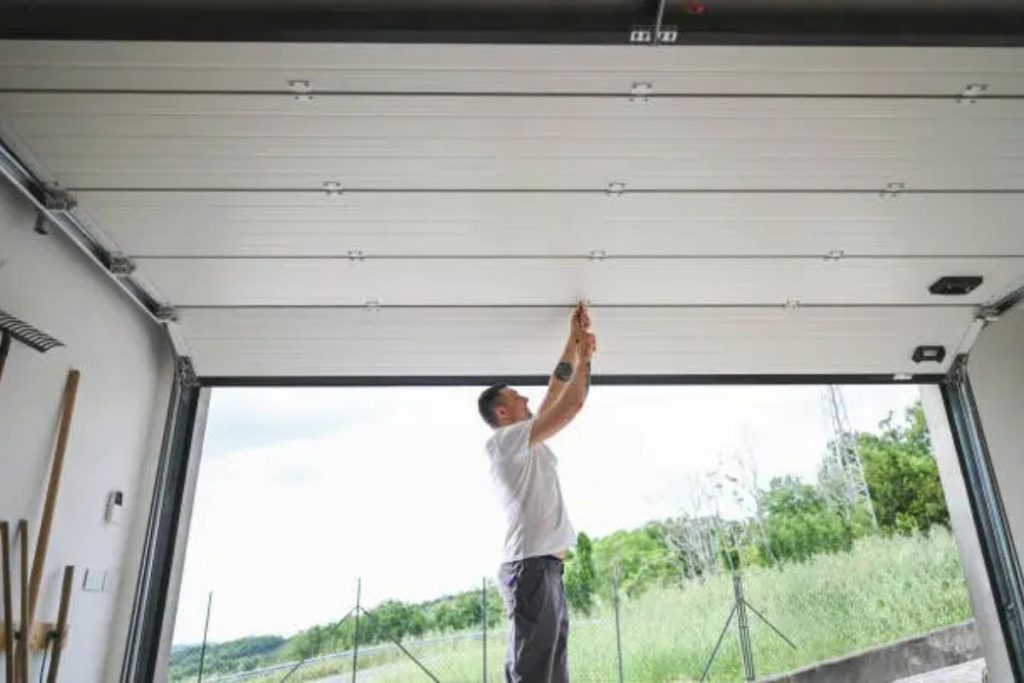
Hanging the Bi-Fold Doors
- Slot the top pivot into the track.
- Align the bottom pivot with the floor bracket and secure it.
- Slide the rollers into the track for smooth movement.
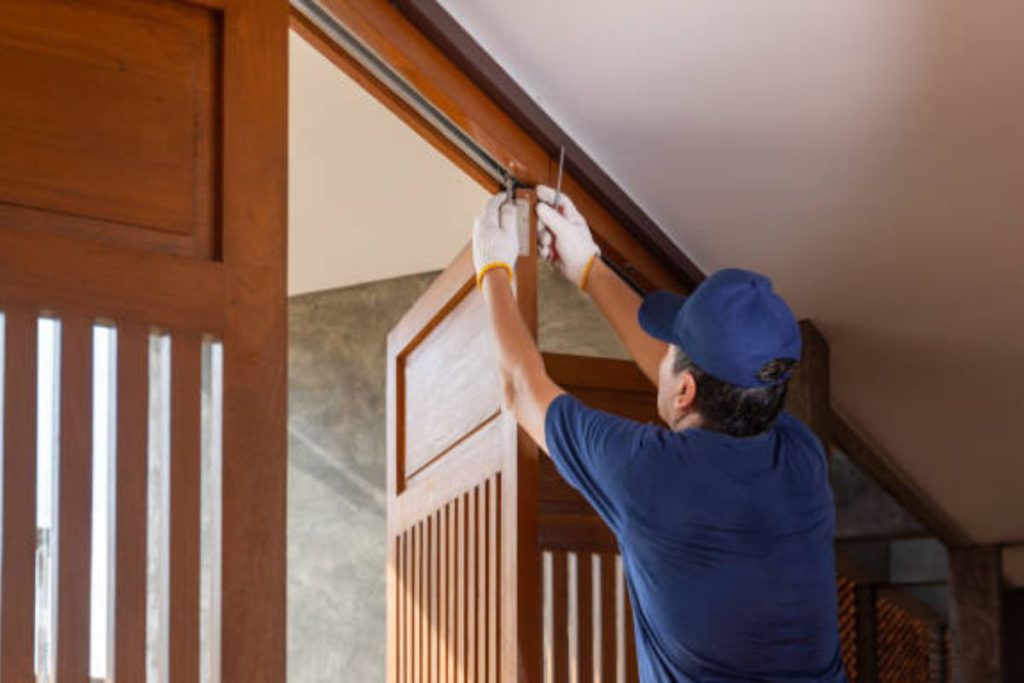
Adjusting the Doors for Smooth Operation
Use a screwdriver to fine-tune the pivots and brackets. Adjust until the doors open and close effortlessly.
Common Installation Mistakes and How to Avoid Them
Uneven Alignment
Make sure the track and pivots are perfectly level during installation.
Doors Sticking or Jamming
This often happens if measurements were off. Double-check your alignment and adjust as needed.
Incorrect Placement of Pivots and Brackets
Follow the manufacturer’s instructions carefully, as improper placement can derail the entire setup.
Post-Installation Maintenance and Care
Regular Maintenance Tips
Wipe down the track to remove dust and debris. Check screws periodically to ensure they’re secure.
Adjusting and Tightening Over Time
If the doors start to sag or feel loose, use a screwdriver to tighten the fittings. Small tweaks can make a big difference.
FAQs About Installing Bi-Fold Doors
Can I install bi-fold doors without professional help? Yes! This guide simplifies the process, making it approachable for first-timers.
How long does it take to install bi-fold doors? It typically takes 2-3 hours, depending on your skill level and the complexity of the project.
What should I do if my bi-fold doors don’t close properly? Check the alignment of the track and pivots. Minor adjustments usually resolve the issue.
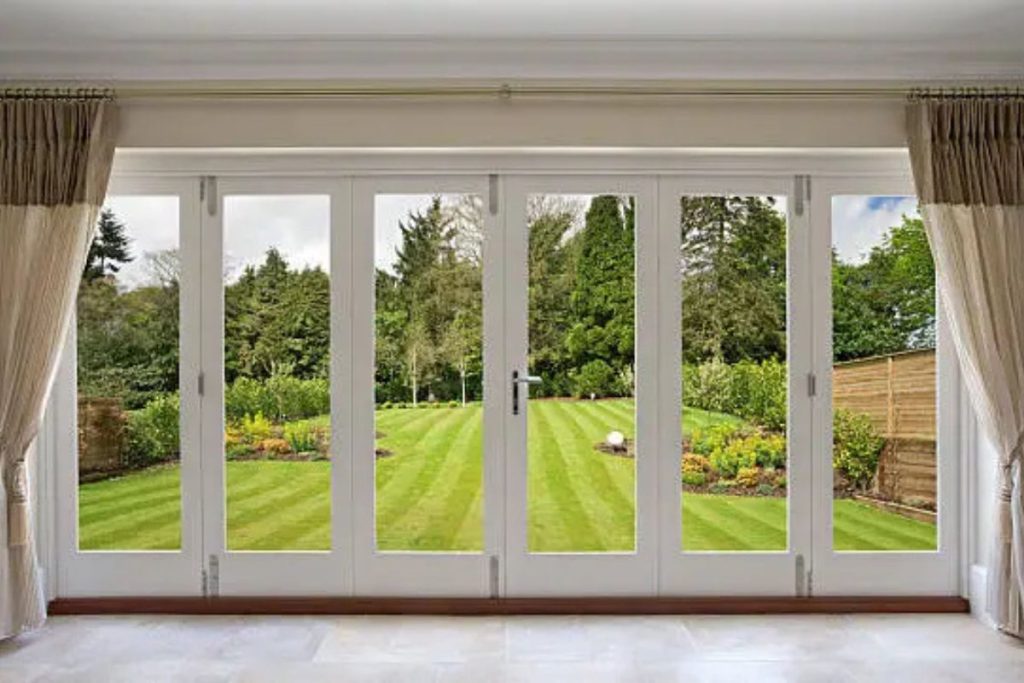
Ready to Transform Your Space?
According to Chris from Elevate by Design, “Bi-fold doors can do more than just save space indoors. When used to connect a home to its patio or garden, they create a seamless transition between inside and outside living. That connection to the landscape is where design really comes alive.”
Installing bi-fold doors might seem like a puzzle, but with the right tools and a bit of patience, you’ll have them up in no time.
Images courtesy of unsplash.com and pexels.com